
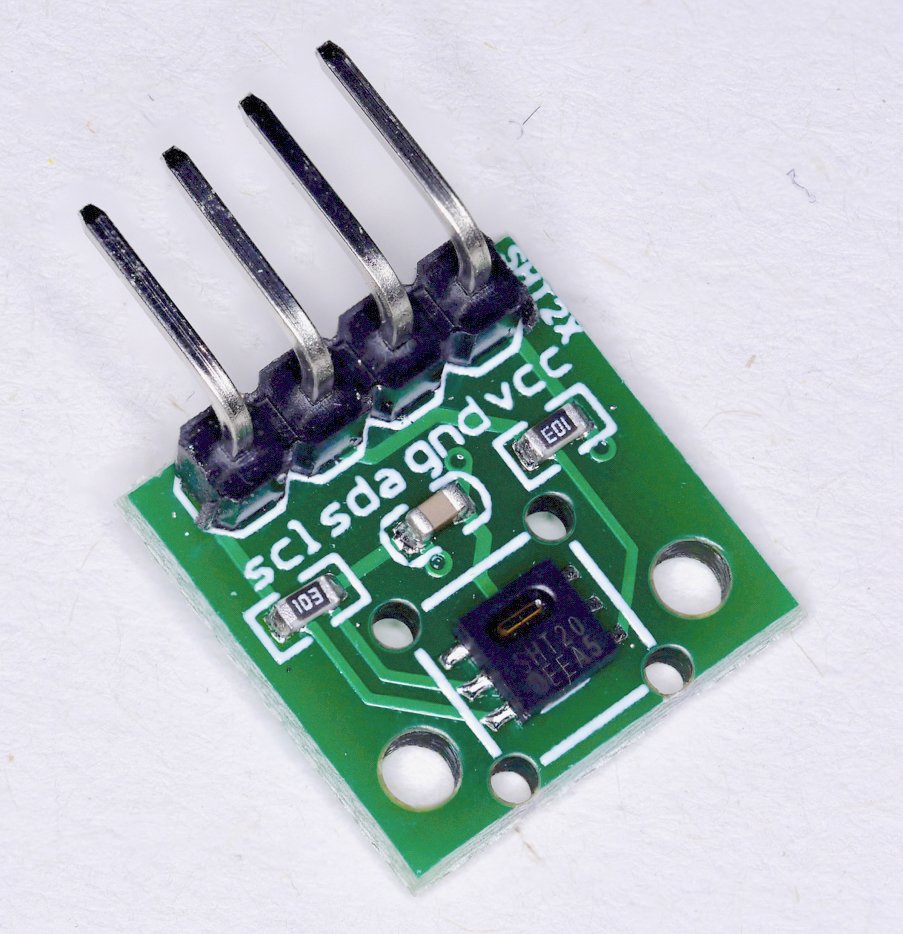
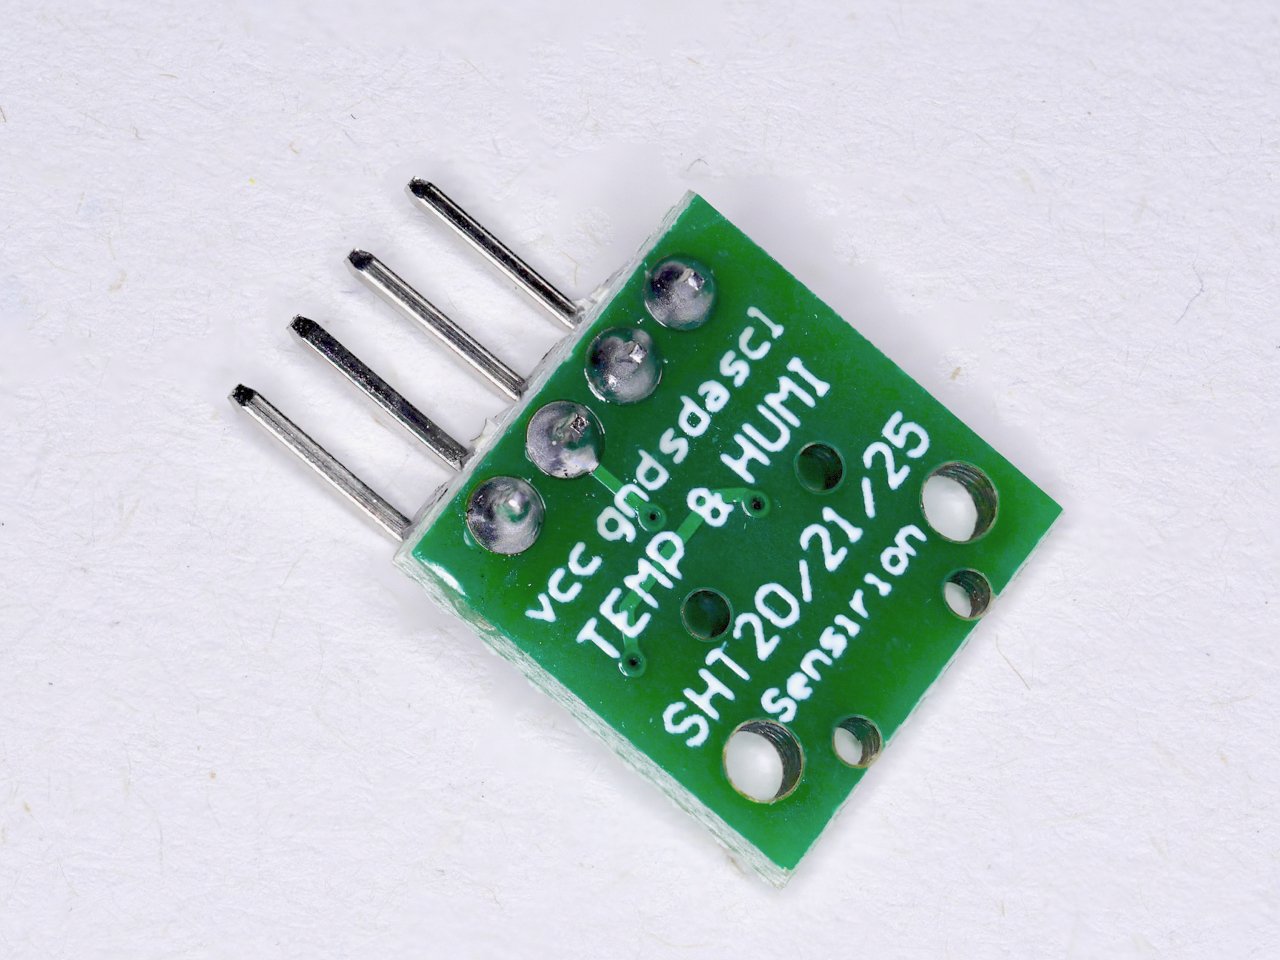
Temperature & Humidity Sensor (SHT20)
Summary
The Sensirion SHT20 series of digital devices are widely used as humidity and temperature sensors. Humidity is measured using a capacitive sensor while temperature is measured using a band-gap sensor.
The SHT2x sensors also contain a version 4 silicon chip with an amplifier, A/D converter, OTP memory and a digital interface. They come in a plastic package which leaves the sensor area open, protecting the devices from external impact and providing long-term stability. The SHT2x sensors are ideal for both high and low volume applications (SHT20 - Low cost, SHT21 - Standard, SHT25 - High Accuracy). The devices are fully calibrated, and directly provide final measurements as a digital value. The Stage-2 Biomaker kit contains a sensor on a breakout board, ready for connection to the Grove Beginner Kit board, or equivalent,
Measurement parameters for the Sensiron SHT20 sensor.
Temperature range: -40 to 125 C(-40 to 257 F)
Humidity range: 0 to 100 % RH
Temperature accuracy: ± 0.5% C
Humidity accuracy: ± 5% RH
Interface: I2C
Voltage range: 2.1 - 3.6 V


How to Connect
The module should be directly plugged into the breadboard, and adjacent sockets can be used to plug in Dupont cables to carry signals to-from the yellow-coloured header on the Grove Beginner Kit board. There are only four pins that need to be hooked up. One for VCC, one for GND, and two data lines for I2C communication. Connect the SDA and SCL lines directly to the SDA and SCL lines broken out on the Arduino headers.
the 4 pins on the module:
VCC: Module power supply - connect to 3.3V pin on the yellow-coloured header on the Grove Beginner Kit board.
GND: Ground - connect to a ground pin on the yellow-coloured header on the Grove Beginner Kit board.
SDA: Serial Data Input/Output for the I2C protocol - connect to SDA socket on the yellow-coloured header on the Grove Beginner Kit board.
SCL: Serial Clock Input for I2C the protocol - connect to SCL socket on the yellow-coloured header on the Grove Beginner Kit board.
While the Grove Beginner Kit board runs with 5V logic levels, the SHT-20 sensor board runs at 3.3V. Be sure to power the board from the 3.3V pin. Because I2C is an open drain signal, one can work without using electronic level shifters to convert the signal. In practice, the 3.3V signals of the SHT-20 device are adequate to communicate with the Arduino and tolerated by the the SHT-20. However, be aware that this is not a recommend procedure, and voltage compatible I2C buses or level converters should be used for permanent circuits. Meanwhile, this shortcut approach has proved stable enough for our prototyping with this device.
How to use with XOD
The external library justind000/ufire-sht20 should be imported into your XOD development environment. It provides the sht20 node, which handles communication wqith the I2C device, and delivery of calibrated temperature and humidity values.
A pulse input is required to trigger each measurement, and after a short delay, the temperature and humidity values are delivered for subsequent display, or calculations.

Internal details of the sht20 node
Test patch:
Simple patches can be used to test the connected device.
First, the sht20 node can be connected to two watch nodes - and clock node can be used to trigger measurements at regular intervals. The read process includes a delay (~150 ms) so timing should be set to avoid oversampling.
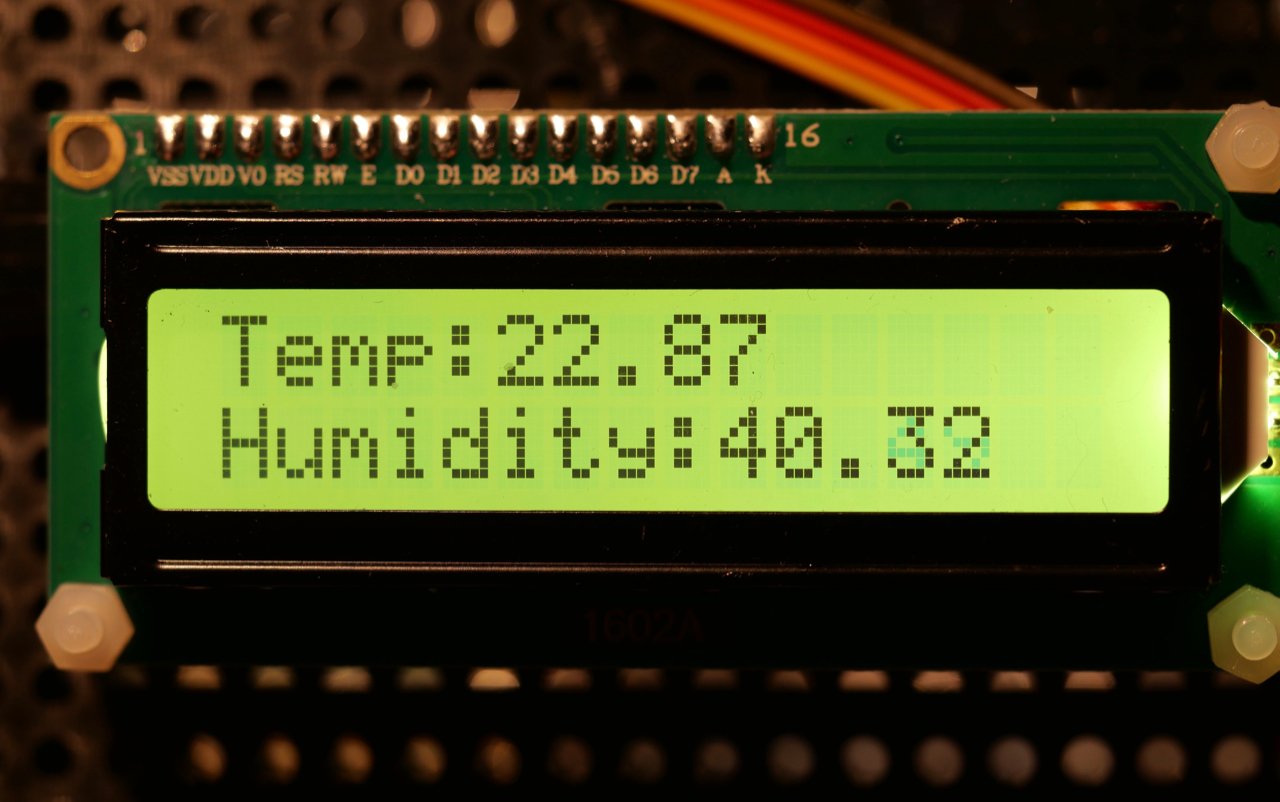
Second, the patch can be modified to show the temperature and humidity values on the 16x2 LCD display. Text labels can be added using concat nodes, and fed to the text-lcd-i2c-16x2 node. The SHT-20 and 16x2 LCD should be connected to the Grove Beginner Kit board through the I2C bus.

Technical Specs
Product page: https://www.sensirion.com/en/environmental-sensors/humidity-sensors/humidity-temperature-sensor-sht2x-digital-i2c-accurate/
A large number of technical documents and application notes about the SHT-2x series can be found at:
https://www.sensirion.com/en/download-center/humidity-sensors/humidity-temperature-sensor-sht2x-digital-i2c-accurate/